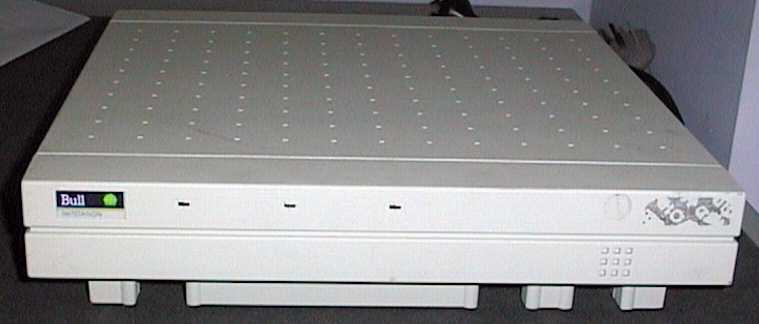
Following a global rationalisation of Groupe Bull operations, Bull Australia no longer exists.
This page gives a brief guide to setting up your main Linux system to boot Linux on the Netstation. It also includes instructions on opening the case and replacing the EPROM and making your own firmware ROM.
If you have any questions or comments, mail me.
Unfortunately it needs a keyboard plugged in to boot. Maybe someone can find the right place in the BIOS to patch to ignore the keyboard.
The serial ports are 16450 equivalent. The parallel port is only Centronics, i.e. no bi-di, EPP, EPP, etc.
Finally, it's rather unsettling to turn on a computer that doesn't have even fan whirr.
I have made a replacement firmware image that substitutes Ken Yap's most excellent Etherboot package for EtherStart. This lets the Netstation boot via the standard BOOTP protocol supported by Linux. DHCP is also supported.
If you wish to boot DOS instead of Linux, you can find instructions in the Etherboot documentation.
If all that sounds a bit daunting, this link will download the tagged Linux 2.0.33 kernel image I use.
Those who prefer building their own kernel may be interested in the config file I used to generate the image. You will need to specify NFS file system support, NFS for the root filesystem, and include BOOTP support. A kernel patch is available to support swapping over NFS. I have not attempted to use it.
Ken Yap's guide to setting up your server is here, and covers pretty much everything you need to know.
Some tips:
/etc/bootptab. If you have an Etherboot ROM installed, Etherboot
will report the address when it tries to boot. If you haven't yet got
Etherboot installed, the Ethernet address is given on the BIOS Setup screen.
-DT503_AUI in the Config file and
remake the ROM image. I have not tested the AUI interface - I don't have the
required kit - but it should work.
The memory map of the 128k EPROM is as follows:
| VGA BIOS | 64k |
| Diagnostics | 16k |
| Boot | 8k |
| Main BIOS | 40k |
| VGA BIOS | 64k |
| Empty | 128k |
| Diagnostics | 16k |
| Boot | 8k |
| Main BIOS | 40k |
To generate a replacement ROM image, first make the Etherboot 3C503 image.
With only 8k available, you'll need the compressed ROM image, 3c503.lzrom.
Then extract the ROM components - I used split -b 8k to split
the image into 8k chunks, then cat to join the split files into
images for each component. I then use cat again to join the components
back into a single image suitable for burning into the EPROM.
$ cat eprom-vga-bios eprom-diags 3c503.lzrom eprom-bios > bootp.dat
I recommend you use the 32bit build of Etherboot. As of Etherboot 4.0 it will generate a 8k ROM image, and you won't have to install the 16bit build tools. There is sufficient space to select the Etherboot DHCP, Message Of The Day (MOTD) and Image Menu options, but that's all. If you have a Etherboot/32 image installed courtesy of Luke McKee, those are the options in that ROM.
The socket is rather cheap so it's best done with IC tweezers, otherwise
gingerly lever it out with a screwdriver, taking care not to damage any
surface mount components. Install with the notch facing the front as
depicted on the silk screen, otherwise goodbye EPROM. Take care not to
bend any EPROM pins. Both 128kB and 256kB EPROMs will work but it doesn't
use the top address pin so 256kB EPROMs will have a blank 128kB section.
See above.
 [email protected].